My Holiday Card Tutorial
Receiving holiday cards from family and friends every year is the highlight of the season to me. Even in the new everyone's-connected world of Facebook, Twitter, smart phones and blogs, it's still nice to get a card, especially photo cards, in the real-deal-snail-mail mailbox. Don't you agree?
Every year, someone (or several someones) ask me where I get my holiday cards printed, if I'll help them make their family's card, etc. So, this year, I want to do a little holiday card tutorial and show you what I do to get our holiday cards DONE every year:
-
Get a good family photograph. Not an easy task. But essential, I think, to a great holiday card. Not that I don't appreciate the pretty greeting cards, (because I use those too) but mostly I want to see how much everyone has changed each year. And as you may have heard me say before...I strongly believe the WHOLE family should be included in at least one shot that you share. Because, yes, your kids are cute, but I was friends with YOU first so I want to see your smiling face too!
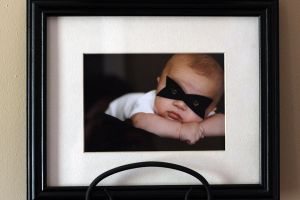
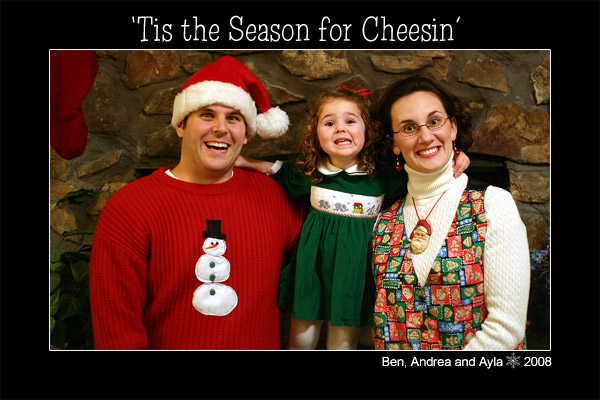
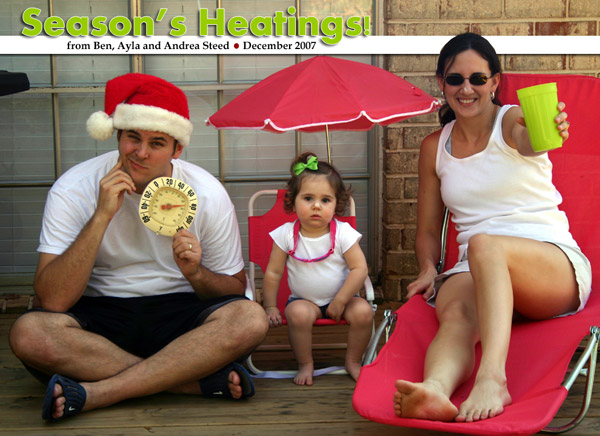
As far as what *kind* of photo? The sky is the limit. I like posed portraits and smiling faces, but candid pictures of a memorable event from the year (like a graduation or wedding) can give a fun little peek into your world. I also get a big kick out of the silly holiday photos - you may remember some of our past photo cards:
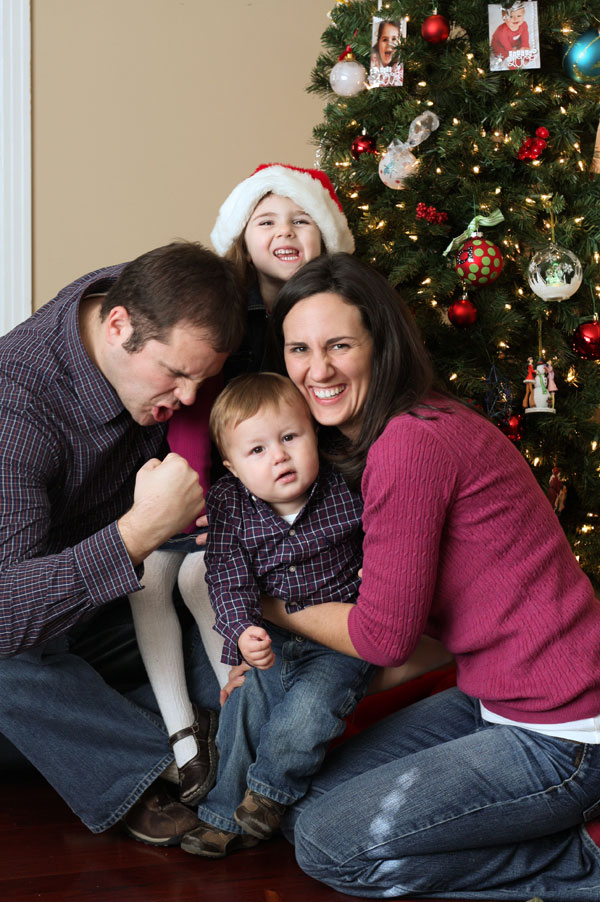
And a silly outtake from our 2010 photo shoot:
-
Establish a list. If you haven't already, start making your list and checking it twice. Who are you sending cards to? How many do you need? Are all of the addresses up-to-date? I keep a spreadsheet on my computer and update it each year, adding new people, checking addresses for people who I know have moved, and adding in the names of new babies, new spouses, etc. That way I don't have to start from scratch with a new list every year and risk forgetting someone. I also use this same spreadsheet later to import into a Word document to print the addresses directly onto the envelopes, which makes addressing the cards a breeze.
-
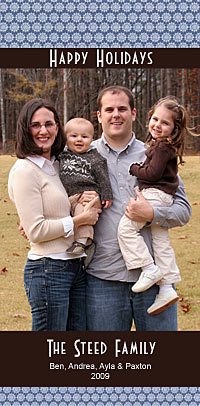
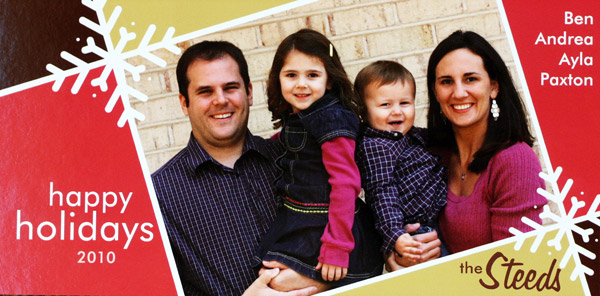
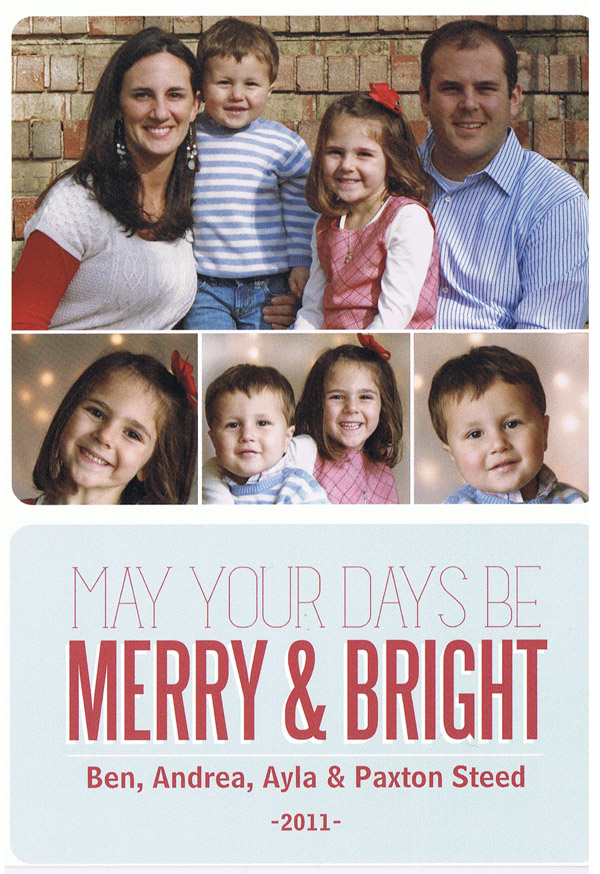
Pick out a holiday card design. We use Zazzle.com for our photo holiday cards. They offer great quality, a good price, and TONS of selection. Plus, you can design your own card if you don't like the designs you see online and are so graphically inclined. Personally, I like the long cards that leave plenty of room for a full photo and a greeting, but they have lots of sizing options and styles to choose from and they all include envelopes. My favorite designer at Zazzle is "The Spotted Olive." Such cute designs.
This was our card in 2009:
And here's what we settled on for 2010:
And 2011:
-
Add your greeting and text. Since our family and friends celebrate both Hannukah and Christmas, we usually stick to something along the lines of "Season's Greetings" or "Happy Holidays." I also highly recommend including each of your names, first & last, as well as the year somewhere on your card. Yes, everyone you send a card to should know this information already, but not everyone will remember that you named your 5th kid "Brutus". A reminder never hurts.
-
 Place your order. Make sure to order your cards in plenty of time for them to ship to you, and then for you to address them and add postage before you put them in the mail. I usually like to have our cards mailed out in early- to mid-December. So, by the first week of December 2011 (if not sooner) I hope to have placed my order. Also, if you're feeling really snazzy, you can add Christmas postage stamps to your order and really dress up the envelopes! Cute, huh? Especially if you ordered the photo cards to match...
-
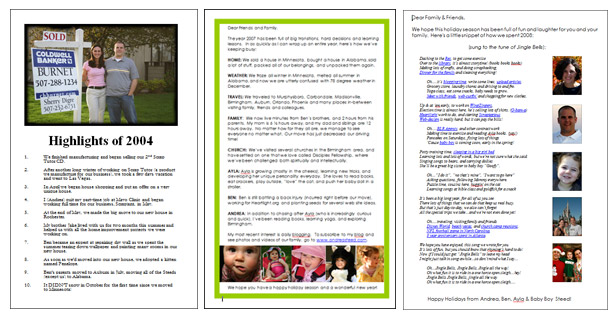
Write a letter while you're waiting for your order. (optional) Oh, I LOVE when people include a little update about their family! Sometimes we do, sometimes we don't. It just depends on how much extra time I have when I'm getting these together. We've written top ten lists, made up songs, and done person-by-person updates. But last year I took the easy route and just included a url for my blog.
-
Admire your work. Whoo hoo! The mail came and there they are! A whole stack of photo cards, ready to be mailed to share with all your friends and family spread throughout the world. You did good. Pat yourself on the back. Okay, now get back to work.
-
Assemble the envelopes. Create a mail merge (with that spreadsheet of addresses you made) and print your envelopes. Don't curse at your printer or hit it with anything. That won't make it work better or faster. If it doesn't work to print them yourself, you can always hand-address each envelope, which is kind of old-school nice anyhow.
Stuff each envelope with your snazzy photo cards, adding that note or holiday letter if you wrote one, and then have your kids or dog lick the envelopes to seal them. No, maybe let them use a damp sponge instead. I don't want anyone getting sick over holiday cards.
Finally, stick your Christmas stamps on each envelope and they're ready to go! Be sure to separate any international addresses so you can add the correct postage for those cards. We send at least one card to Israel every year. Hi Medina family!
- Mail 'em! I think you can handle that. Especially if you've already added the postage. Then you don't even have to stand in line at the post office! Just stick 'em in a mailbox and go.
So there you have it. A holiday card from start to finish. I guess I better figure out our photo and card for this year now that I've raised all kinds of ridiculous expectations with this post...
*edited in 2012
